Showing posts with label layers. Show all posts

3/17/13

Scrapbooking / Cards


Brandy Scrapbook
The great thing about manipulating photos is getting a personal touch with your photos and you can create cards to posters you are only limited by the size of the printer and your imagination.   

Some things mentioned in this post may not be on your photoshop mainly the 3D effects, the cookie cutter, and some of the brushes used to create the patterns.  


see exercise below

3/11/13

Panoramas

The Digital Puzzle
Fitting the pieces together 


There are programs out there that do automatically build panoramas for you but these methods are refining your skills that you already learned and finding your own way of manipulating photos. The tools used are essentially the same as our first exercises STICKMAN we are just lining up pictures instead of overlapping them. 

I have also found a helpful link if you want to print a frame a large masterpiece 

How to Take, Print and Frame Your Own Gigantic Panoramic Photo for Just $150


2/24/13

Layers and Masks

This week is a hard one but once you get the hang of Layers it will be easier in the long run. Masks can be substituted with just erasing unwanted parts of pictures and placing items where they are needed like in the first Stickman exercise. The reason I focused on Masks most of the class is that they are used in color correction hopefully it will be clearer with that application.

The best way to think of layers is comparing them to cel animation with layers of cellophane over a background.


From internet

To Start we have some Reading and helpful information

Layers and Masks
  Basics Concept  Applications    Video

LAYERS EXERCISE


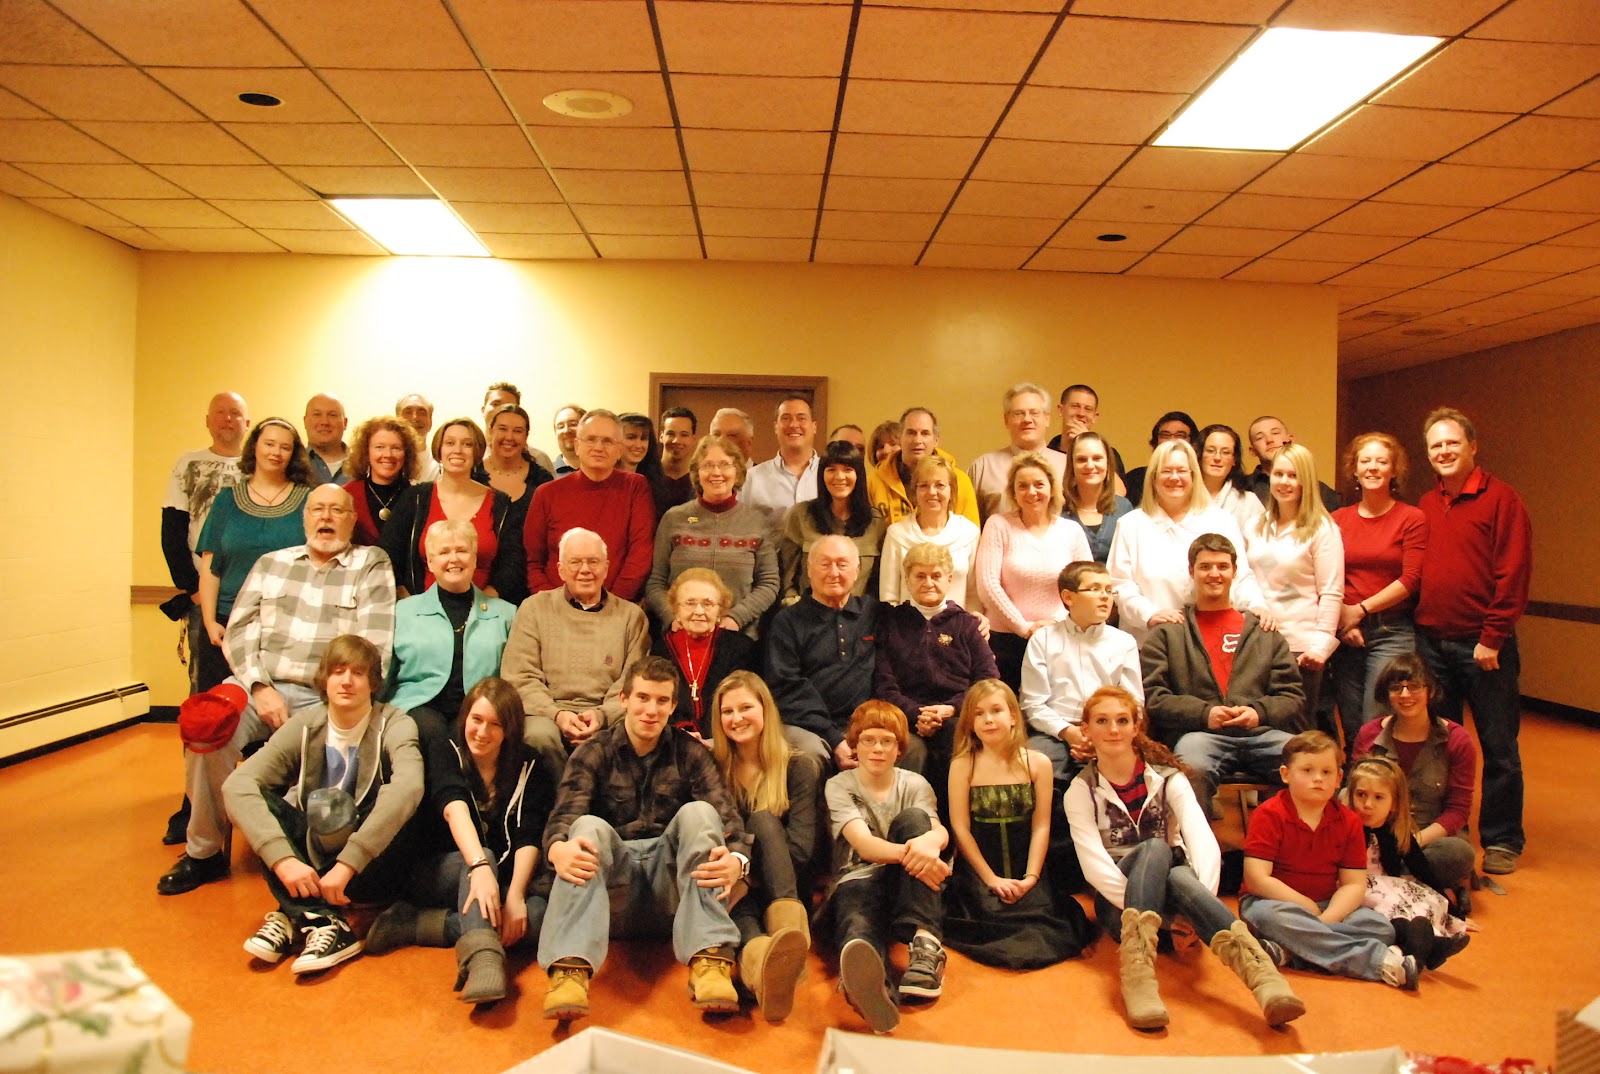
The most useful example of layers is getting that perfect group shot. Some people look great in one picture but not another by layering two pictures on top of one another and using masks you can edit in and out the best pose. Video example


One thing that was not mentioned in the exercise was layer opacity to create the Ghost effect

When you are all done with creating layers you can organize them  by Grouping layers  into folders to save space  you can also Merge layers to cut down on layers even more

2/17/13

A File by Any Other Name.

File format some people may have issue opening different files when transferring to other computers or programs. Most photos are JPG, the most universal file, but when dealing with a Apple computer there is not an issue but it does sometimes happen when switching between the two "languages" of computers. 

JPG is a compressed file format and great for regular viewing and email. The file that may work is a TIFF a uncompressed file that keeps the layers in photoshop and tends to "travel" better when swapping files on flashdrives and discs, but it is much larger and tends not to fit on emails. JPG is best for emails and sending to companies to be printed. 

To change the File type simply open the photo you want to change in photoshop or the available program and do FILE >SAVE AS > CHOOSE THE FILE TYPE. In the drop down tab that has the current file type listed. 

Changing the actual size of the photo to be printed was brought up. If you send it to a printer like CVS they will size the photo to fit one of their standard sizes. Printing at home there is an option on most printers to fit to page. But if you want a exact size you can go to IMAGE > IMAGE SIZE and change it to the desired size.

 Video
 Reading


9/30/12

Exercise 4 / Clone and Picture fixing

When you have missing parts of a picture or just have a imperfection there are many tools to fix a photo. The Clone tool is your best friend. It copies ans pastes parts of pictures all in one click, another magic brush. Others are more self explanatory like the red eye tool.

The red eye tool is a single click with the tool and it auto corrects the eye and it even works on blue eyes, Animals are a tad harder because they don't get red eye they get yellow or green eye, and it reflects. For animals you usually need to copy and paste an eye or draw one in. Red eye tool     red eye without tool     Dog eyes  
        
                               
Clone tool As mentioned before the clone tool is very useful for scratches and missing pieces as long as you have something to replace that part with. Missing arms you can copy from the other arm or a different picture. Other missing parts that you don't have a reference you may have to draw in or fill with a shadow.  Video  Reading   Below is the exercise.

Since we are talking about taking things away we can also add items as well. Using the same technique as the dog eye you can paint items in or using clone or copy and paste, you can also ad type to add some fun to the image as well. Remember always have a extra copy in case you need a picture without words you never know when you just want the origional. Video    Reading